
The goal of any business is to make money and when it comes to websites, there are a lot of ways to monetize them. However, the method that many website owners rely on is Google AdSense for WordPress.
Adding AdSense to WordPress is extremely simple and lets you start earning money right away. However, the big issue is that beginners tend to think that simply enabling Google AdSense is enough.
In reality, there are multiple ways for you to utilize it and help you generate even more money.
What Exactly Is Google AdSense?
Google Adsense is the most popular advertising network on the internet with a market share of 23.08%. To put it simply, it allows website owners to display targeted advertisements in the forms of text, images, and videos to visitors.
The key to this model is that they are targetted ads. Google has a very good idea about what a visitor wants to see, and that is exactly what they show. This means that ads are more likely to get clicked on, which will help you earn more.
One of the main advantages of this system is that as a website owner, you only have to deal with Google.
Google handles all of the interactions with actual advertisers. They collect the money, take their share out and send the rest your way. This gives you more time to worry about managing your website.
Don’t Be Invasive
One thing that is not stated enough is that Google AdSense is very cautious about ruining the user experience. This is the main reason that it limits the number of ads you can display on a page.
While some developers may feel that this is a negative, I strongly recommend this approach. If your website has ads everywhere, you will just push another visitor into the arms of Adblocker.
And even if you do not, I can assure you visitors will not bother with your website. If you want your advertisement to work, do it in moderation.
Sign Up For Adsense

Before you can learn how to add Google AdSense to WordPress, you need to actually sign up for it. Make sure to enter all of the information correctly, otherwise, you will not be accepted.
As I said, this is a really simple advertising network to join. If you already have an existing Gmail, you can use it to sign up. If not, you will need to make one.
Once, you fill out the application, here comes the hard part, you need to wait for the AdSense team to review your information. The time it takes varies and you are most likely looking at a 24 to 48-hour review process.
However, it is very possible for this to take upwards of a week, so don’t worry if it’s taking too long. It is also worth noting that the process will take longer if this is not your first time applying to Google AdSense.
And you need to be aware that your website should have a good amount of content on it before AdSense is approved. Having around 20 posts or so should be enough.
Once you finally get your application reviewed and approved, you are ready to start adding AdSense in WordPress.
Note: If you have already signed up for another Google ad service like YouTube monetization, your account should be ready to go.
7 Ways To Add Google AdSense to WordPress
Today, I will share 7 ways you can add ads into WordPress using Google AdSense. Which method you utilize is highly dependent on your skill level, but they will have the same result if done correctly.
While in reality you will only need one method, it is worth noting that there may be an advantage to a certain method in a special circumstance.
Therefore, it’s worth learning multiple ways to do it.
1. Manually Place Ads
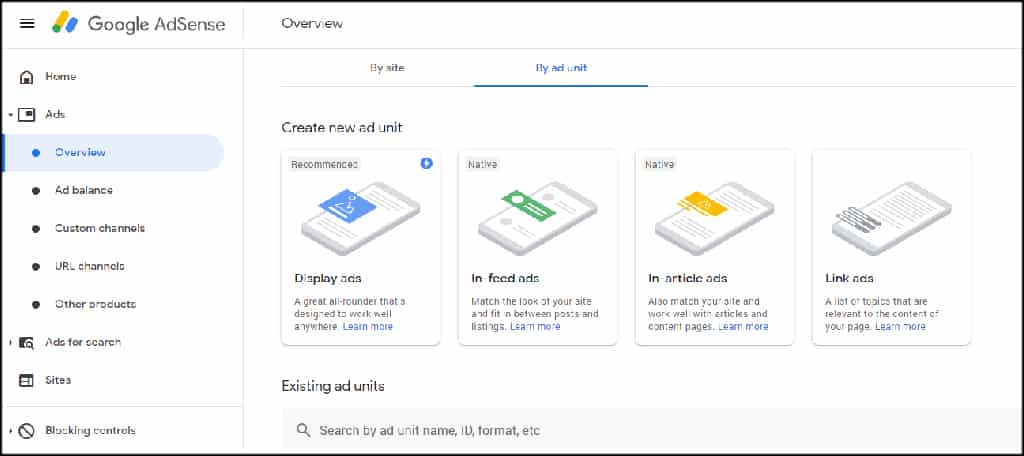
The first method almost every developer tries is to manually add the ads themselves. It remains one of the most popular methods because it gives you all of the customization options you could ever want.
Luckily, AdSense makes this really simple and provides a robust and comprehensive settings section. Two of the options you need to think about the most are the size of the ad and if it is static or responsive.
The size of the ad is pretty easy to pick. AdSense will have a variety of preset sizes for you to choose from. This will help you fit an ad into any area of your website. So make sure to consider where you plan to add it.
The second option has become far more important due to the rise of mobile users. There is a large variety of screen sizes in our world, and as a result, your website needs to be able to handle all of them. This is why you should, in almost every situation, pick the responsive option.
The biggest drawback of this method is just how long it actually takes to place each ad on your website. Luckily, that’s not an issue in the next method.
2. Auto-Ads
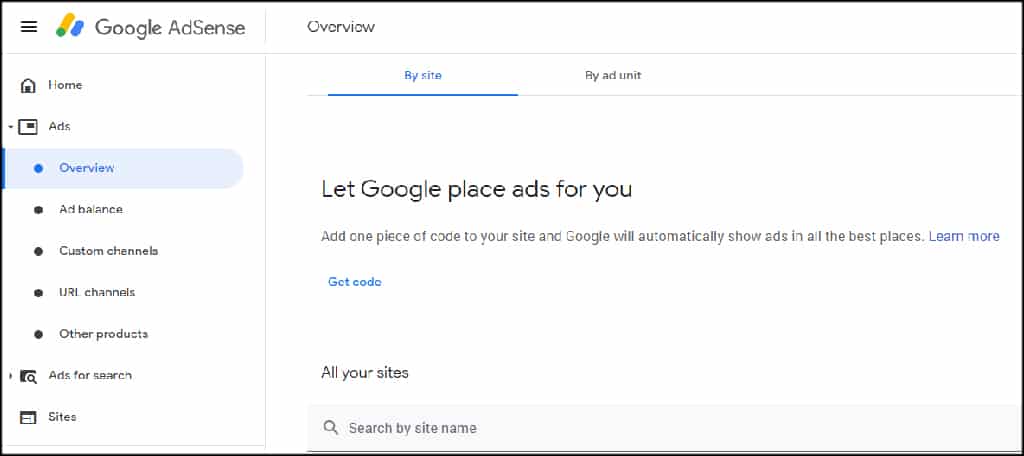
If you find yourself spending a large amount of time adding ads to your website, then this is definitely the best option to try.
Auto-ads lets Google place the ads on your website. This can help you spend more time developing and less time placing ads. All this requires is for you to add a code snippet to WordPress.
Google even generates the code for you, so it really is just as easy as copying and pasting a code snippet. So don’t worry, if you are not great at coding. The code snippet will need to be added to the header.php file of your theme.
Once the code is placed, Google will identify what spots on your website have the highest potential to receive clicks from visitors, the proper ad size for said location, and what type of ad.
However, after saying all of this, there is one huge drawback. Google auto-ads is somewhat inconsistent in placing ads on your website. They can very well appear in random spots, and that can get annoying.
If this is happening, your only option is to disable auto-ads.
3. Site Kit by Google

Site Kit by Google is the official WordPress plugin that combines all of Google’s services into one plugin. This includes Analytics, Pagespeed Insights, Tag Manager, and of course, AdSense in WordPress.
Previously, you would need to download the plugin’s files and upload them to WordPress during the beta, but now it is easy to install. You can find the plugin within the WordPress repository and just click install.
While the actual methods of adding Adsense remain the same, manual and auto-ads, this method cuts out a step. Instead of having to visit the AdSense page to obtain the code to add to your website, it can all be done from within WordPress.
And having access to other Google tools like Analytics is something that most developers have dreamed about.
4. Advanced Ads
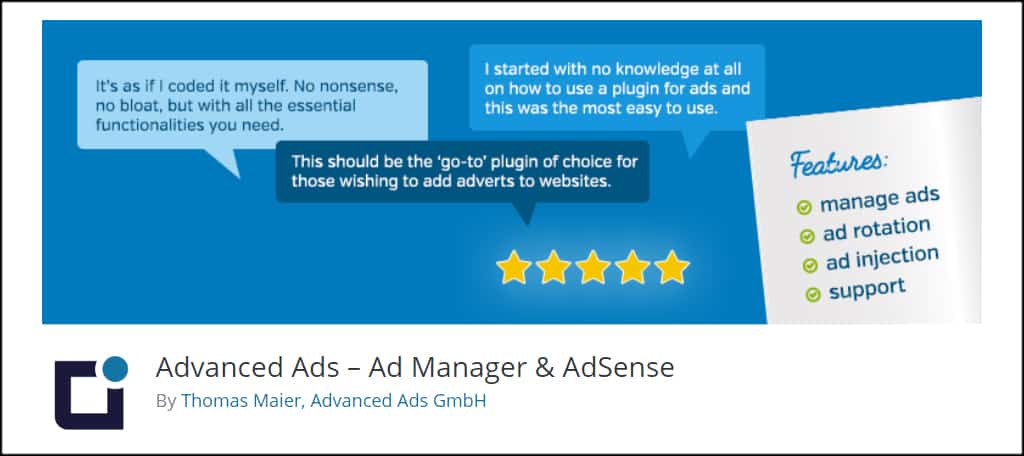
The Advanced Ads plugin is a great choice if you are looking for an additional way to include AdSense in WordPress. What makes this plugin unique is the Gutenberg block it adds.
This plugin supports multiple ad networks like Amazon Ads, Media.net, and of course, what you will use it for, Google AdSense. It is an ad management tool that will give you more design options to choose from.
Most notable is the ability to rotate ads, schedule when ads are changed, add ads into posts and pages without writing code, and helps prevent Adblocker from functioning properly.
When you are adding Adsense ads to WordPress, all you need to do is copy the code that Google provides for each ad and paste them into the appropriate areas.
For example, you can place them into the Advanced Ads Gutenberg block. You can use this to give yourself more control over where that ad will appear.
5. AdRotate
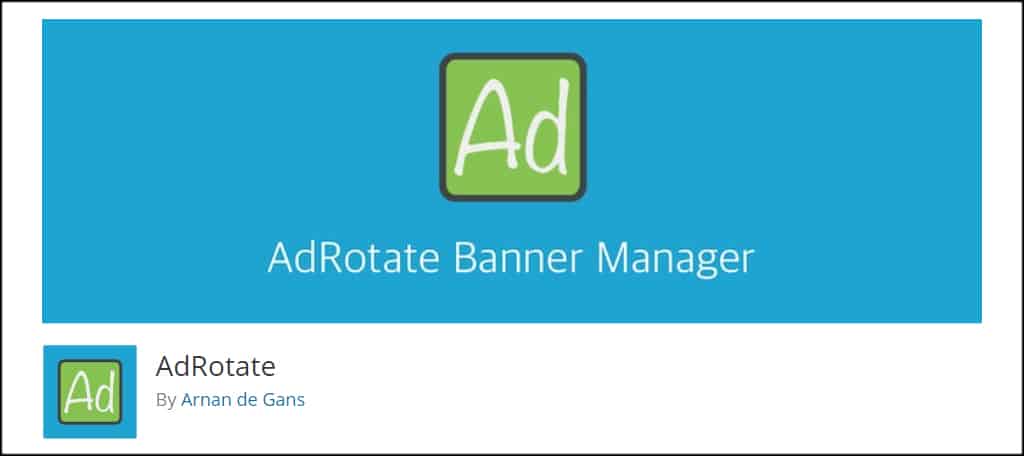
The AdRotate plugin is another great choice when you want to add Adsense to WordPress with as little trouble as possible.
This plugin gives you the freedom to add ads in just about any location on your website, which can give you a lot of creative freedom when it comes to placing those ads.
The plugin offers a wide variety of features that include support for multiple ad networks, grid support, geo-targeting, protect ads from adblocker, scheduling control, and so much more.
6. Ad Inserter
The Ad Inserter plugin is an ad management tool that adds a host of customization options your website can use to control a visitor’s ad experience.
While you can use this plugin and keep the coding to a minimum, that would be a mistake. Coding is the bread and butter of this tool. It allows you to insert custom code just about everywhere from one location.
I implore you to look at the features list of this plugin to see all of the coding options available. And as a result, you will have the freedom to post ads anywhere regardless of the network they come from.
7. Easy Google AdSense
The Easy Google AdSense plugin focuses on making the Auto-ads feature even easier. Instead of having to enter the code from Google into your header.php file, you just have to enter your Publisher ID into the plugin.
If you have other ads on your website already, there is no need to worry. This plugin can recognize other ad code, which means it will not try to overwrite that code.
Once the plugin is set up, your advertising will be fully automated, leaving you with more time to create content.
Avoid Ads In the SideBar Area
If you remember in the younger days of the internets ads would be commonly found in the sidebar. However, in 2020, you might notice that most major websites do not follow this practice.
Mobile users are responsible for this shift in ad space. On a mobile device, the sidebar area does not appear on the side like a desktop. Instead, it appears at the bottom of the page.
This requires that your visitors would have to scroll past the content of the page to start seeing the ads. Obviously, this is not going to help you make money through advertising. Instead, you need to make sure ads are visible before the end of the post.
And when you realize that over 50% of all web traffic comes from mobile devices, you will come to one conclusion. Your mobile site is equally as important to the desktop version.
You Need High Traffic

If you have taken the time to Google how much your website will make, you have probably found very conflicting reports. And this is entirely due to the importance of the size of your traffic.
A very large website with tons of quality content that is updated regularly that draws in huge amounts of traffic will make a lot of money. However, if you are just starting out, you might be lucky to make a few dollars.
And yes, I am being serious. You might be lucky to earn more than $2 a month if you don’t get much traffic.
Thus, while monetizing your website is what pays the bills (in the future), your monetization is worthless if you are not producing quality content. So always make sure that content comes first.
Utilize Other Monetization Methods
Advertising is only one way to make money as a website owner. Most websites utilize multiple methods to ensure that if one fails, the impact is minimal for generating revenue.
And as a general rule of thumb, the more methods you have, the better the result will be.
Luckily, there are a lot of ways to monetize a website in 2020, and many of them have a proven track record. You can have an online store, accept donations on Patreon or use a Buy Me A Coffee button, use affiliate links, and much more.
The bottom line is that you need to ensure that if your ad revenue suddenly shrinks, which can happen, it will not put you out of business.
What is your preferred way to add Google AdSense to WordPress? What steps do you take to ensure your ads are not invasive?