Google is more than just the most popular search engine on the Internet. In fact, it’s office platforms have helped many businesses with collaboration and productivity. And all of this is for free!
Perhaps one of the most popular of these office apps is Google Docs. It’s a free and powerful word processor that comes with all the tools you’d expect and a variety of those you don’t.
It’s a great alternative to other word processing platforms when sharing and collaboration are a high priority.
Today, I’ll go over some of the basics of how to use Google Docs. And because it’s free to use, you lose nothing by giving it a try.
What Can Google Docs Do for You?
Google Docs gives you a powerful word processing tool without the need for downloads, subscriptions or fees. You operate it directly from the Cloud. This means you’ll benefit by:
- Not requiring a download or install.
- Being able to access it from almost any Internet-capable device.
- Not requiring a monetary investment.
- Being able to easily share documents with others.
- Accessing files from mobile devices using the Google Docs app.
- Saving files online, which means you won’t lose important work if your computer catches fire.
And if you use Google Chrome like I do, you can quickly access Google Docs with just a couple clicks of the mouse.
As Google Docs is so popular, a lot of WordPress plugins will integrate with the system. For instance, you can include Google Slides for posts and pages to share content with website visitors.
Google Docs is also part of G Suite. Previously known as Google Business, this collection of tools is among some of the best productivity apps on the Internet.
One thing you can do with the files you save in Google is embed them into WordPress.
So, let’s dive into learning Google Docs and some of the things you can do in the system. Before long, you may have the same opinion I do and how this word processor can benefit your purposes.
Creating Files in Google Docs
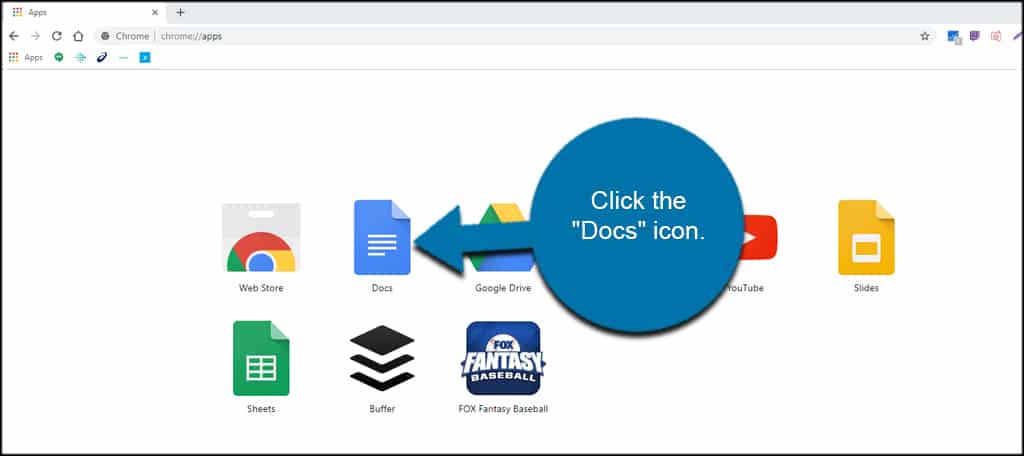
If you’re using Google Chrome, click the “Apps” icon on the left side of the screen.

Click the “Docs” icon.
Alternatively, you can also go directly to the Google Docs website.
From this first screen, you can choose a new template for a document or access anything you’ve previously opened. This includes any documents others have shared with you throughout history.
For instance, I can still see a document someone shared with me back in 2012.
Google Docs is full of templates spanning across various needs. You can create professional resumes, letters, recipes, project proposals and more.
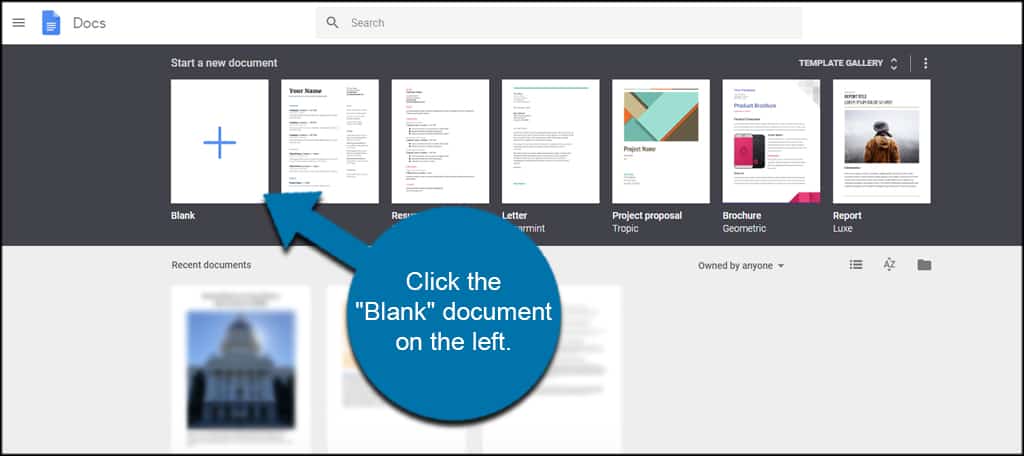
For now, let’s just create a basic form so I can show you how the system works.
Click the “Blank” document on the left. It has the big blue “+” in the middle.
In the document editor, you’ll see that it has all the same tools most paid word processors have.
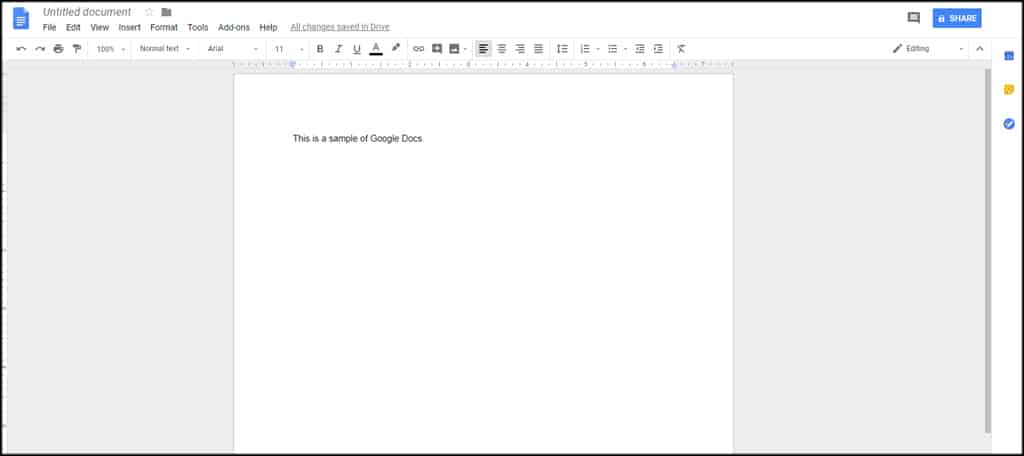
These functions include things like printing, text formats, fonts and adding images or links.
In essence, it’s everything most creators will need in a word processor.
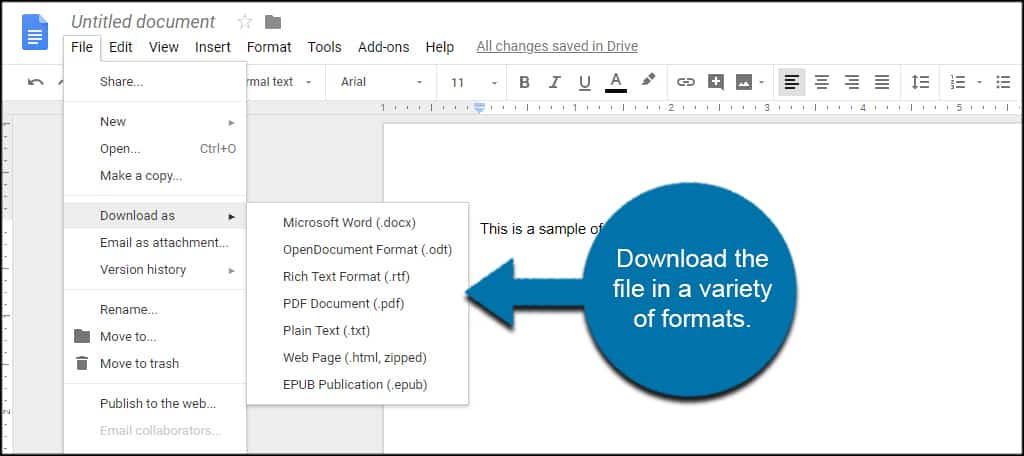
You can even download the file in a variety of formats depending on your needs.
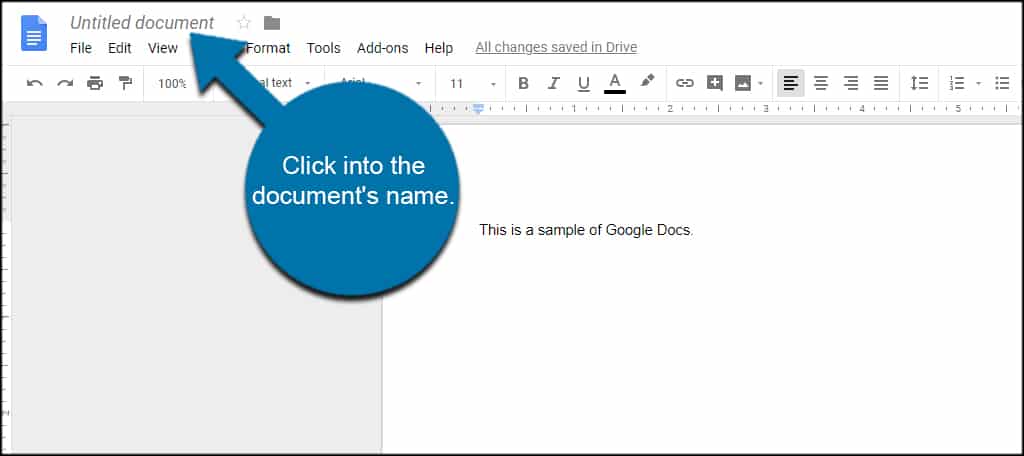
Let’s change the name of the file so we can find it later.
Click into the document’s name. By default, this will read, “Untitled document.”
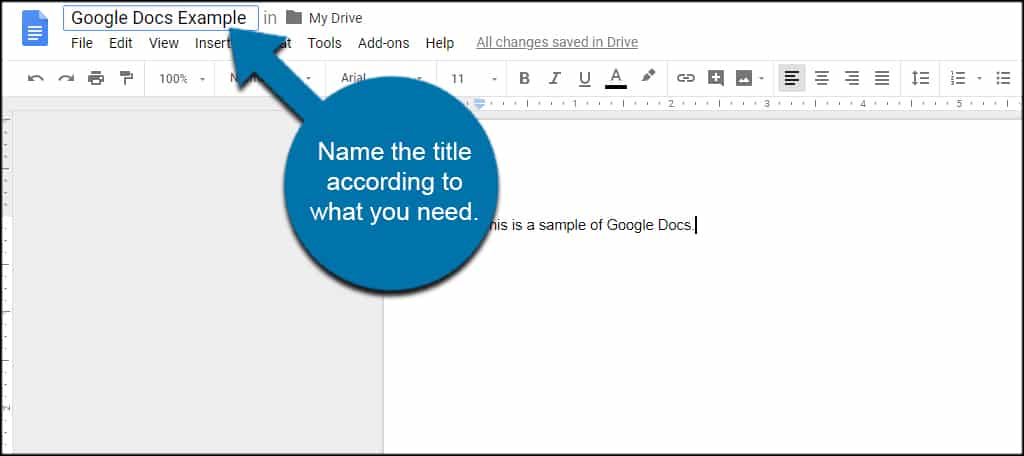
Name the title according to what you need. For instance, I’m labeling this one as “Google Docs Example” so I know what it is.
What if you want to save the file? Google Docs actually does that for you anytime it detects changes. Even when you change the name of the file, Google Docs saves it as you work.
This means you won’t lose any important adjustments if the power goes in the office or your computer accidentally shuts down.
Now, what if we want to see the history of changes to the file? Click the “All changes saved in Drive” link.

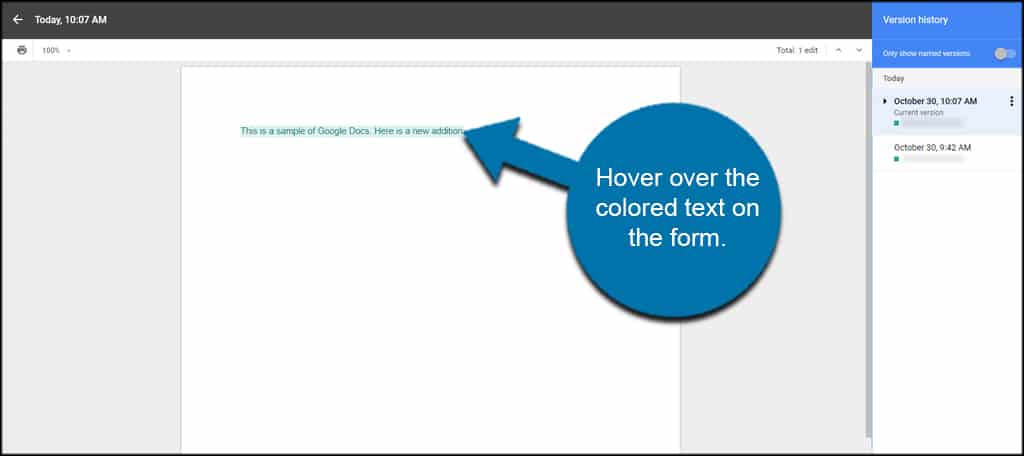
On the right, you’ll see a time stamp along with the name of the individual. These “editors” will also have a corresponding color next to their names. This will highlight the editor’s changes on the document.
If you hover over the colored text on the form, you can see exactly what areas he or she added.
Editing Files
Editing files in Google Docs is pretty straightforward. Just like any other word processor, you make your changes and save. However, there’s a few additions when working in a team environment.
Let me break down a few of these for you.
Tracking Changes
I showed you earlier how Google Docs records edits made to a document. But what if you don’t want to save permanent changes from your staff? You need to have them change the way they edit the document.
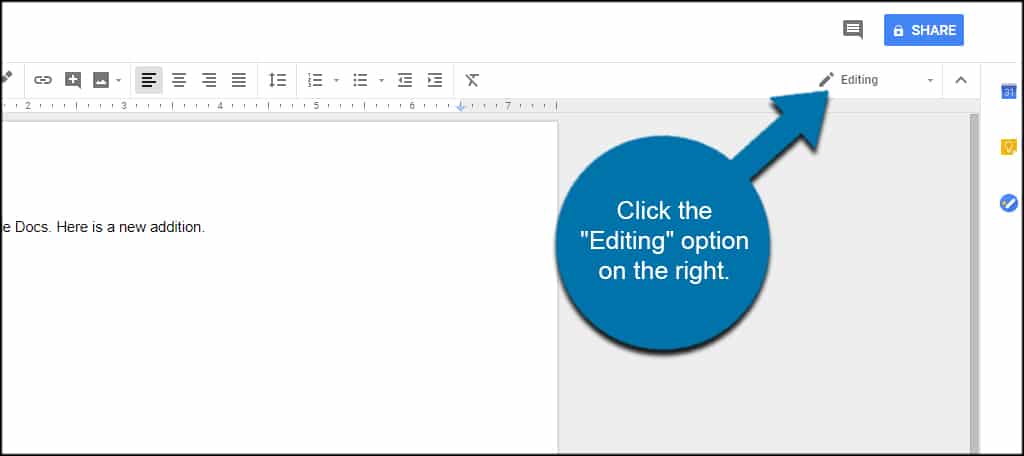
Click the “Editing” option on the right.
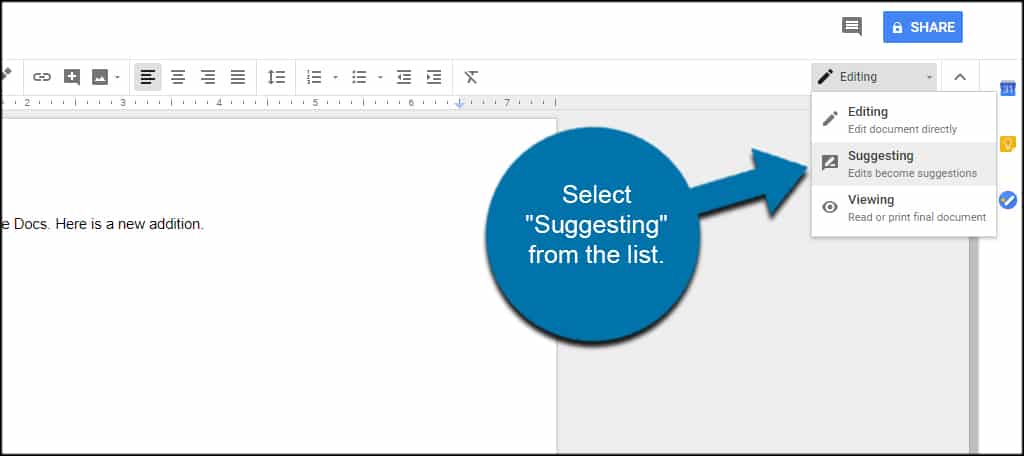
Have staff or editors select “Suggesting” from the list. Note that those who are making changes to the document need to select this on their end.
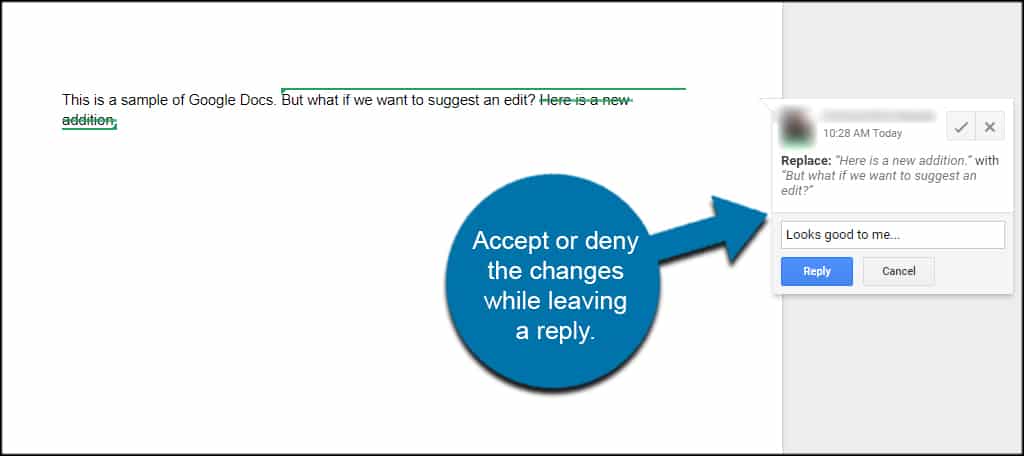
Now when someone makes a suggestion, Google Docs will create a strike through of the original while highlighting the new portion. A message box will also appear regarding who is making the change.
At which point, you can accept or deny the changes while leaving a reply regarding your decision.
Adding Comments
Users can also comment on a section of text without making edit changes. This is helpful if others have questions or concerns regarding specific areas.
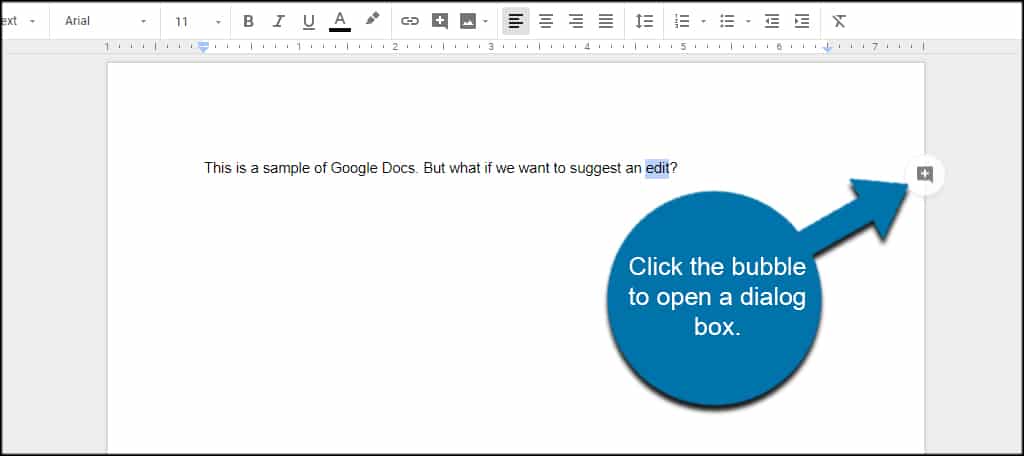
To add this in Google Docs, highlight the text you want to comment on.
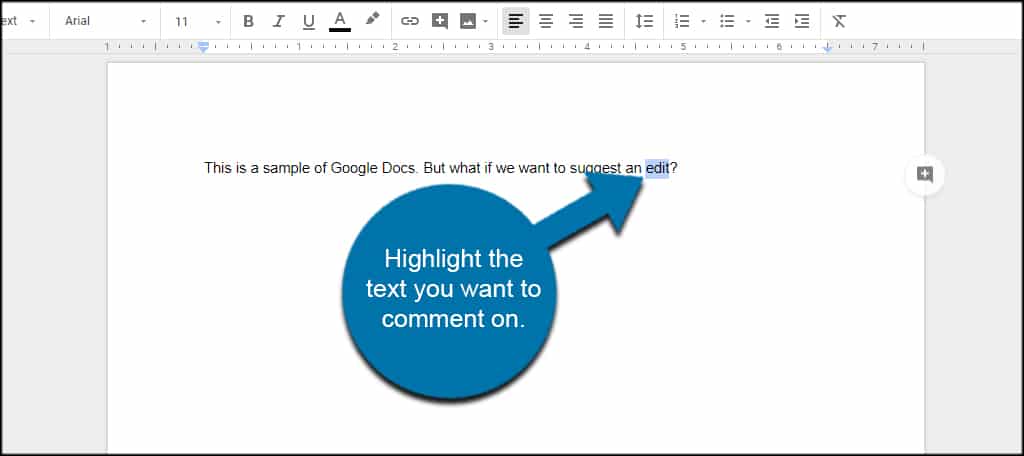
When you highlight text, you’ll see a comment bubble with a “+” sign in the middle. It will appear on the side of the document which gives you a chance to add a message. This does the same thing as the top tool bar version.
Click the bubble to open a dialog box.
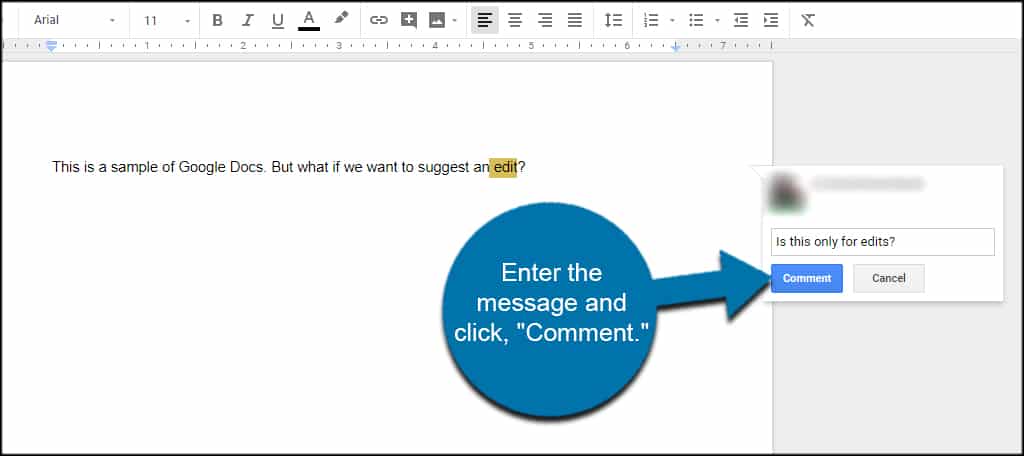
Enter the message and click, “Comment.”
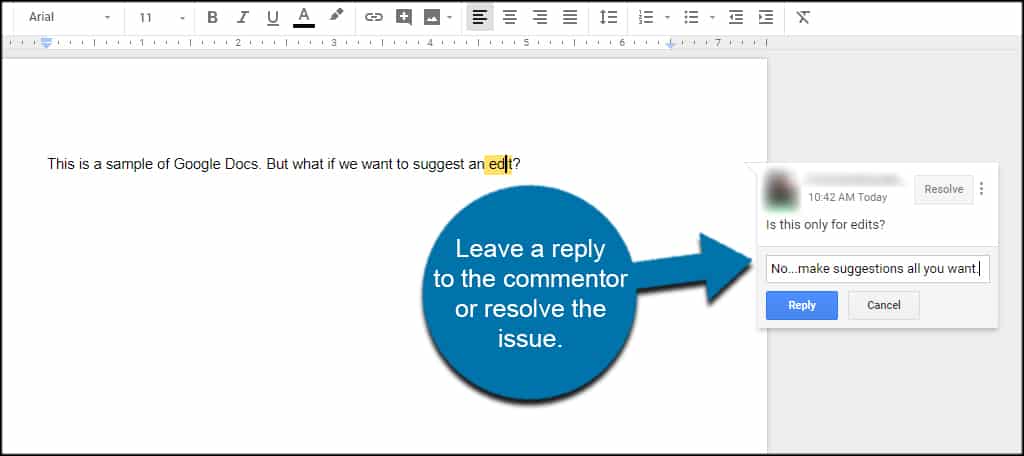
Now the highlighted area will change colors. If you click on this, you can leave a reply to the commentor or resolve the issue to remove the comment.
Using Spellcheck
One of the most important aspects for a word processor is the ability to spellcheck. Most popular web browsers come with a basic ability to do this by highlighting text you write with a red underline.
But what if you want to make sure all is spelled well?
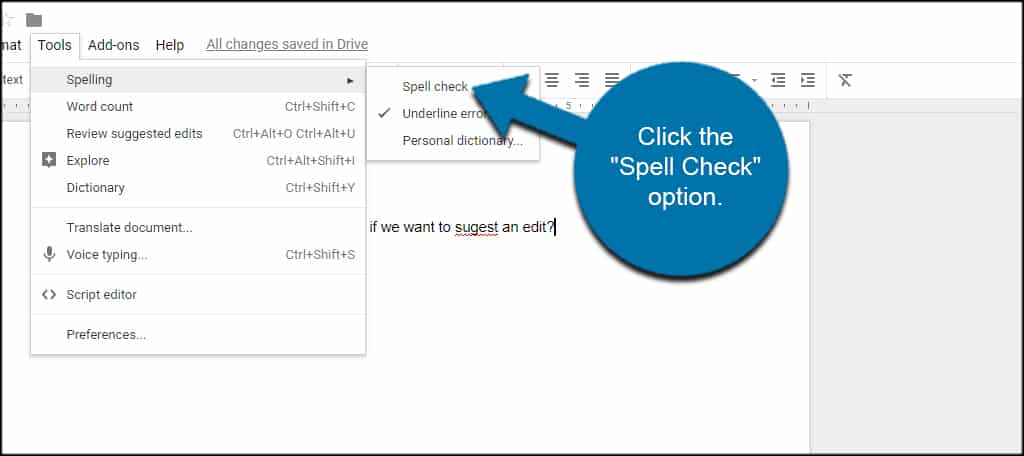
Go to Tools and hover over, “Spelling.”
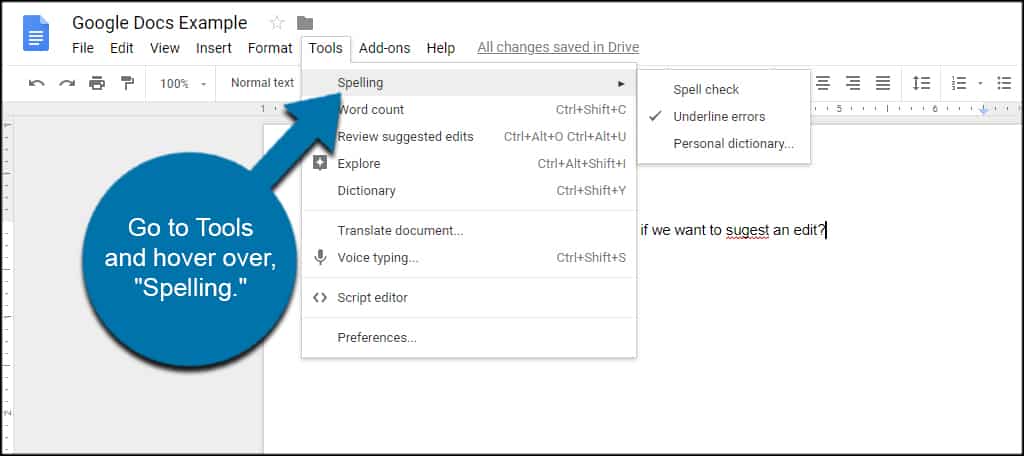
You’ll have three tools available for spelling. You can run the spell check, underline any errors or access your personal dictionary. Let’s just run a quick spell check for now.
Click the “Spell Check” option.
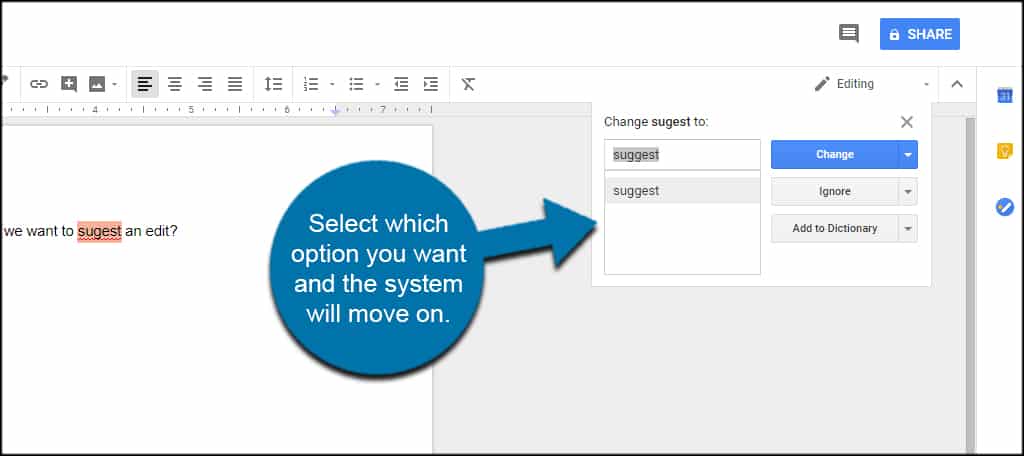
Google Docs will then scan the document and give options to replace words it finds. Select which option you want and the system will move on to the next.
What’s the deal with adding to a personal dictionary?
A personal dictionary holds common terms you’ll use which are not necessarily proper words. For instance, a lot of tech terms and company names may flag as misspellings. Just click the “Add to Dictionary” button and Google Docs will ignore these in the future.
Work Offline Mode
Using Google Docs doesn’t necessarily mean you have to remain online. In fact, you can work just as easily without an Internet connection.
However, you’ll need to activate this feature manually. It’s not enabled by default.
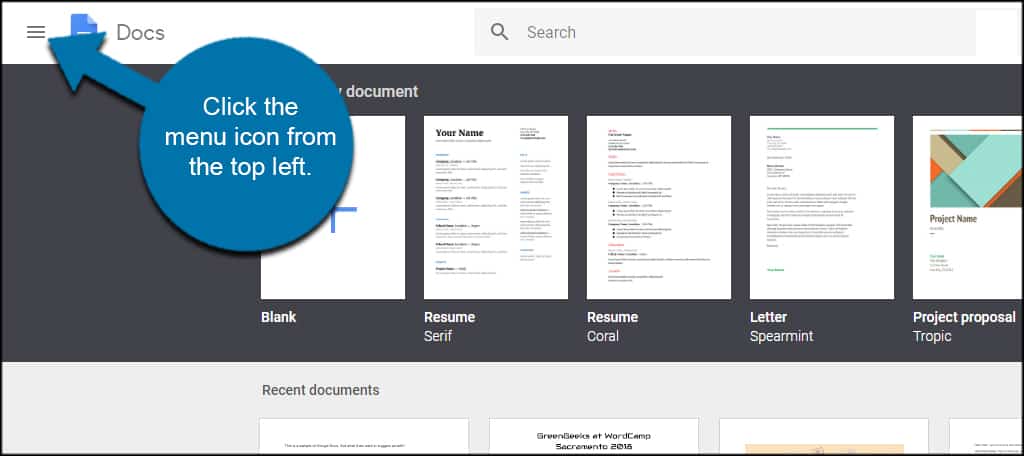
Click the menu icon from the top left of Google Docs.
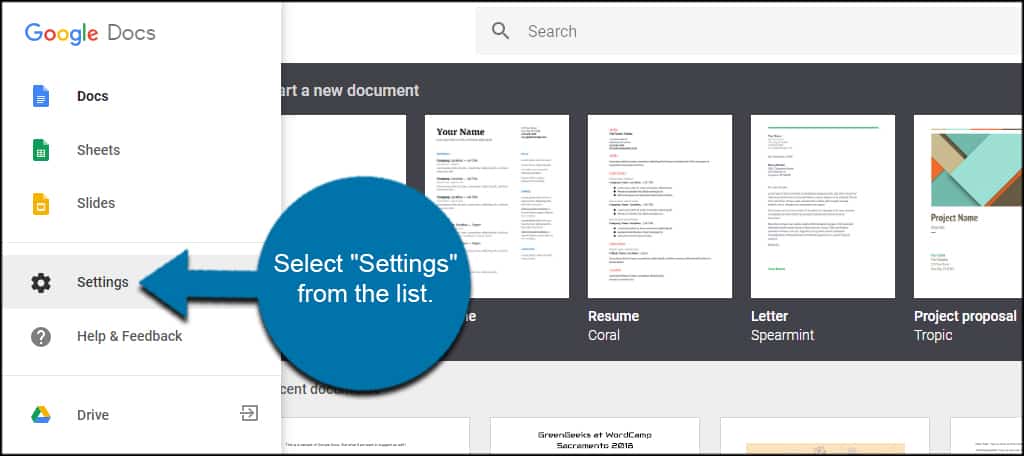
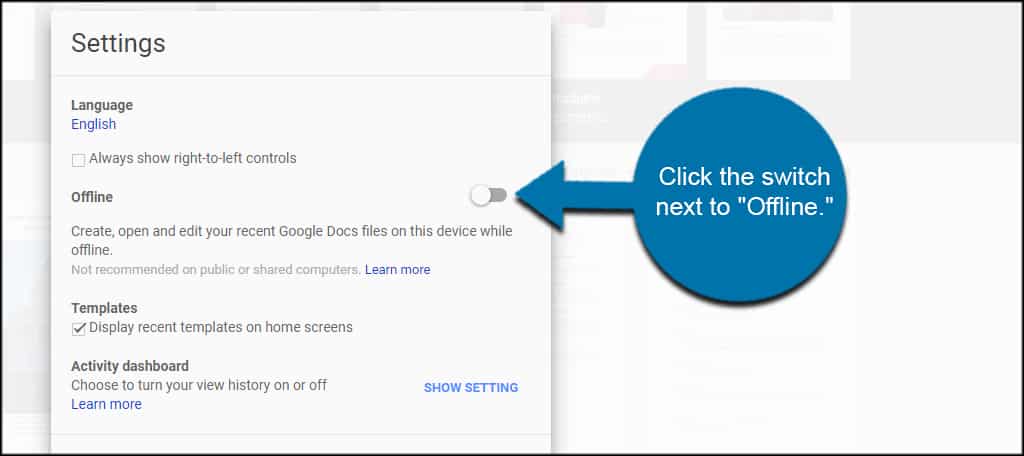
Select “Settings” from the list.
Click the switch next to “Offline.”
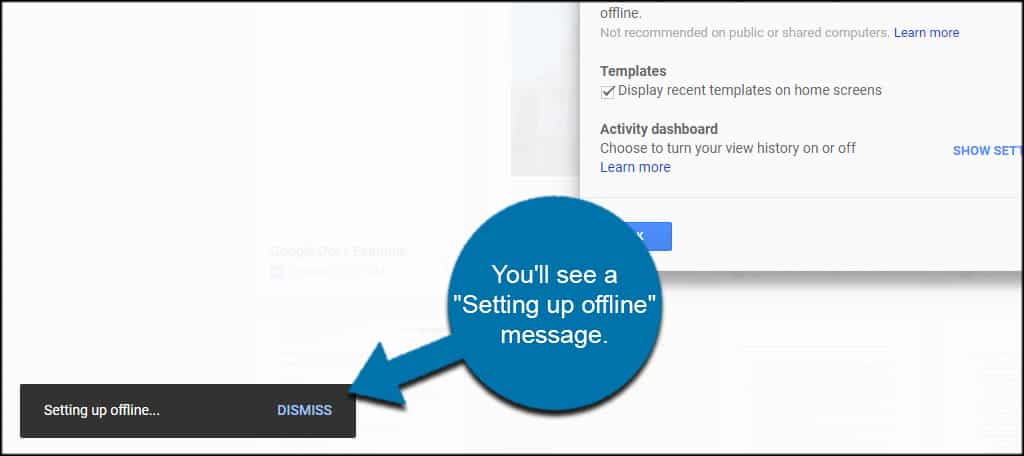
You’ll see a “Setting up offline” message from Google Docs. This means the system is preparing your computer to store offline files which will upload automatically once an Internet connection is detected.
Click the “OK” button in the Settings window.
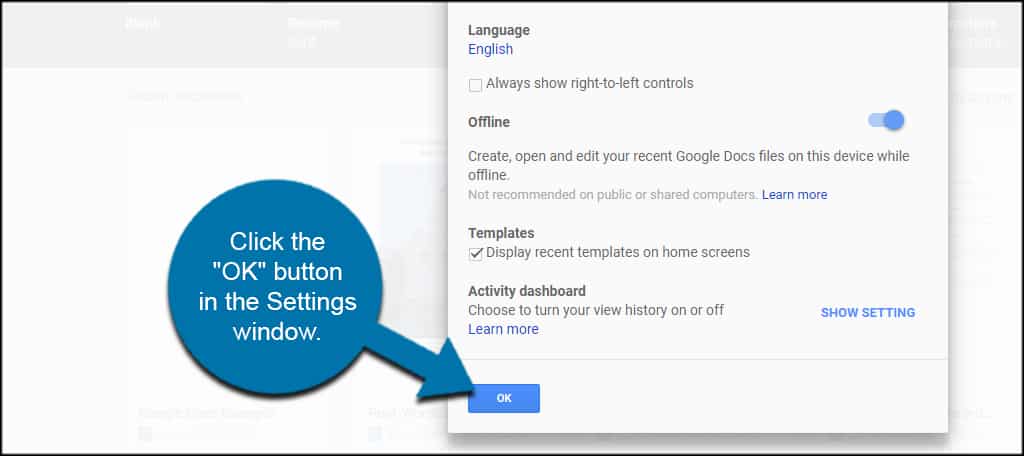
Note: If the offline switch is already blue before you click it, you already have offline mode activated. If you click it again to shut it off, Google Docs will remove any files your computer is currently storing.
Voice Typing and Its Benefits
Want to use voice typing instead? Google’s voice-to-text algorithm has made leaps and bounds since the early days. And it’s convenient in a myriad of situations.
Open a Google Doc as if you were editing or creating a new one.
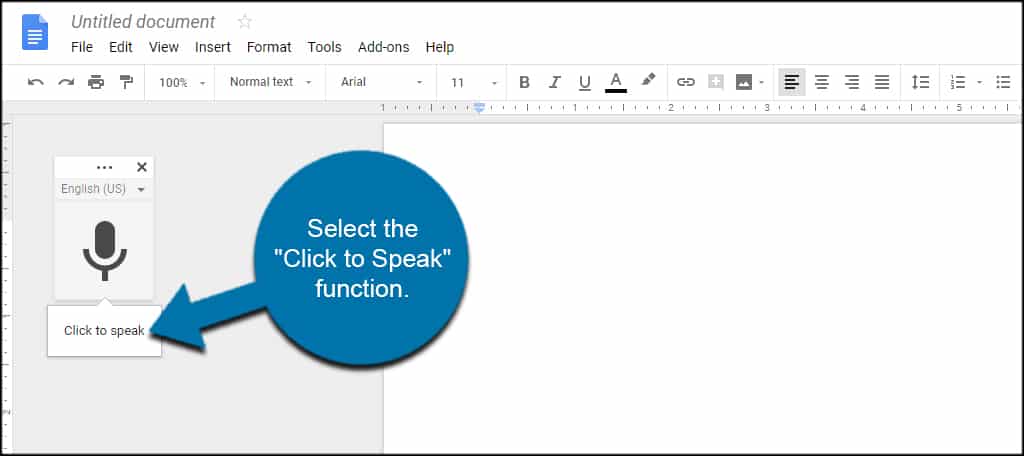
Go to Tools and click, “Voice Typing.”
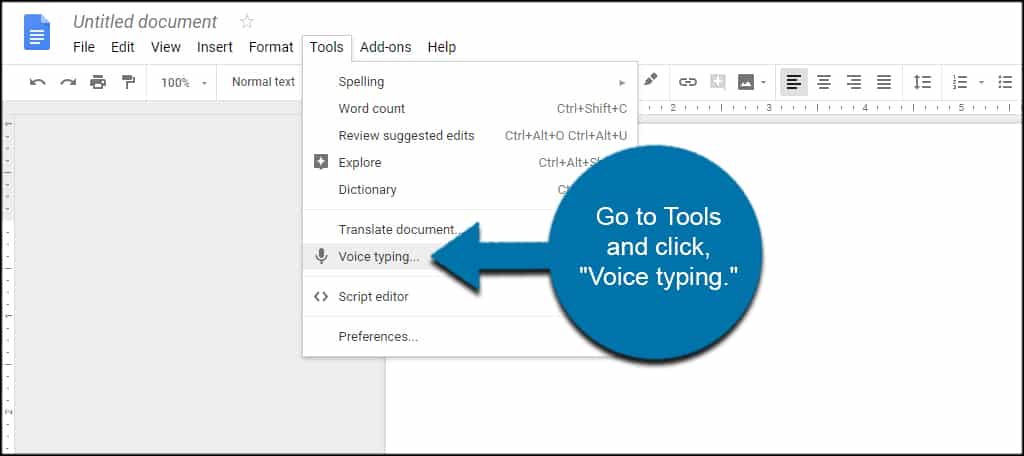
A microphone icon will appear on the right of the screen. Select the “Click to Speak” function.
The mic will turn a reddish color and begin turning speech to text.
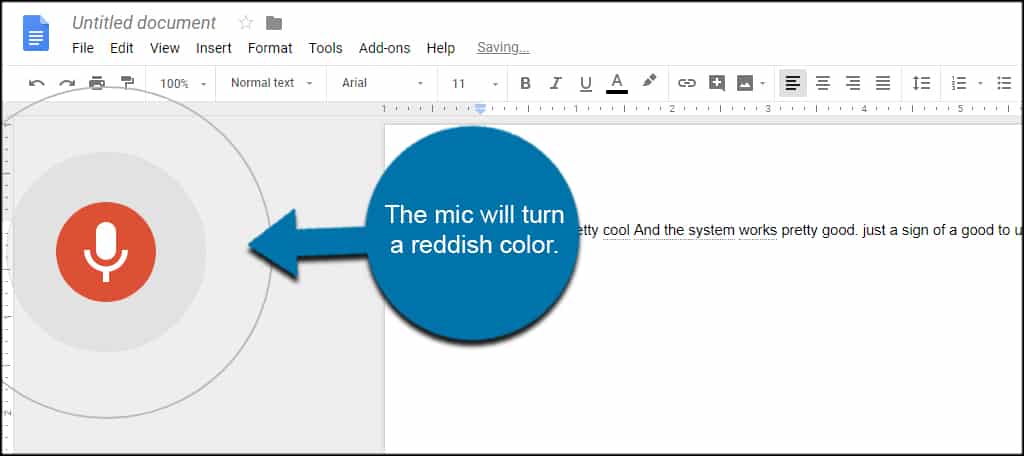
After a moment of not detecting input, the mic will turn off. Just click the microphone icon again to start converting speech to text.
Sharing Your Files
With some of the basics out of the way, let’s go over some of the sharing options you have available. This is what makes Google Docs an excellent system for collaborations and the team environment.
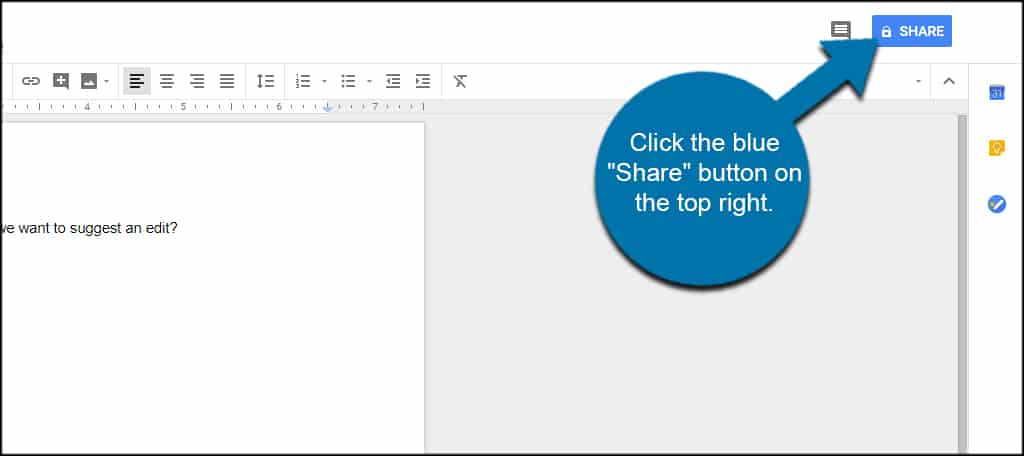
First, let’s share a document so others can read it. Click the blue “Share” button on the top right.
Enter the name or email address to share the document.
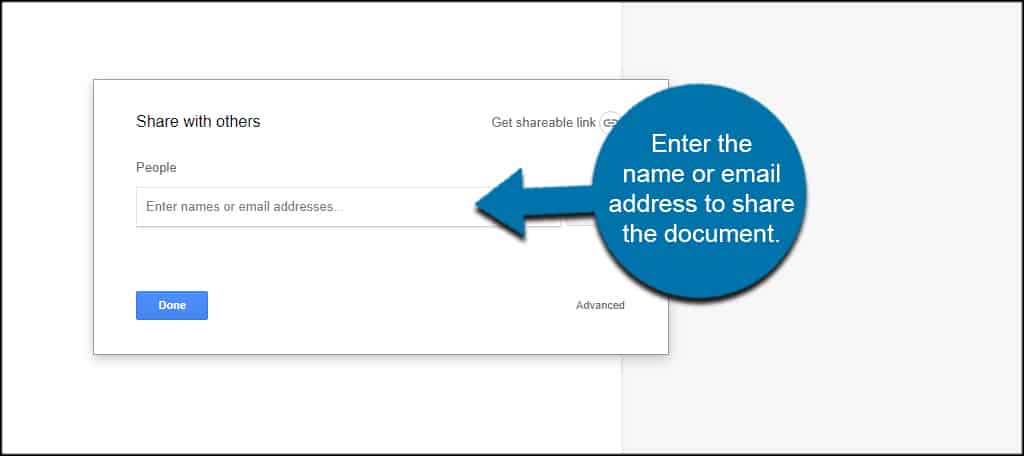
Click the pencil icon to assign permissions. The people in the list of sharing are able to edit, comment or view according to what you send.
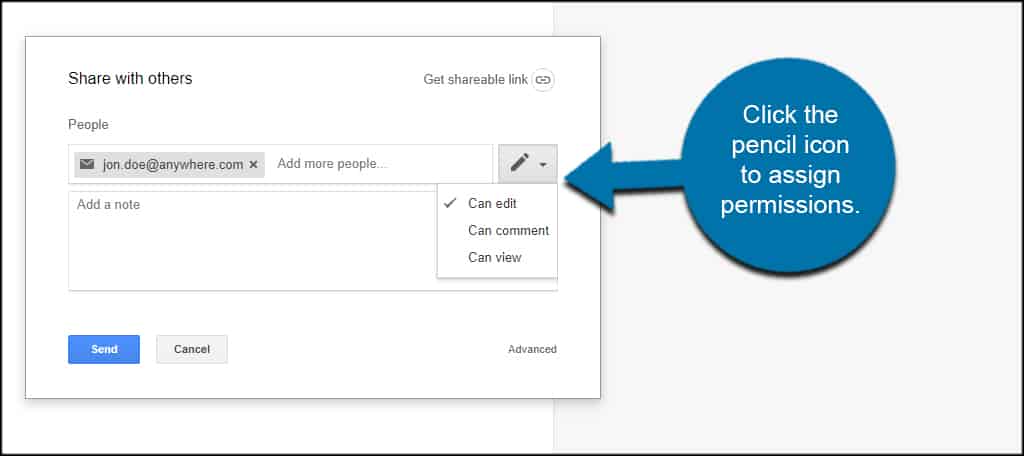
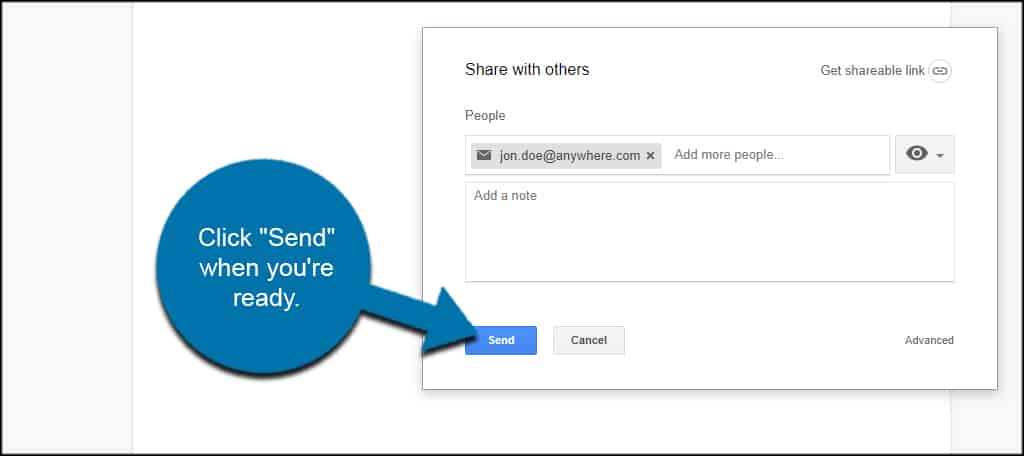
Click “Send” when you’re ready. Google Docs will then send an invite to everyone in your list with the selected permissions. Of course, everyone in the list must have a Google account.
But what if the people don’t have a Google account ready? Click the “Get shareable link” option on the top right.
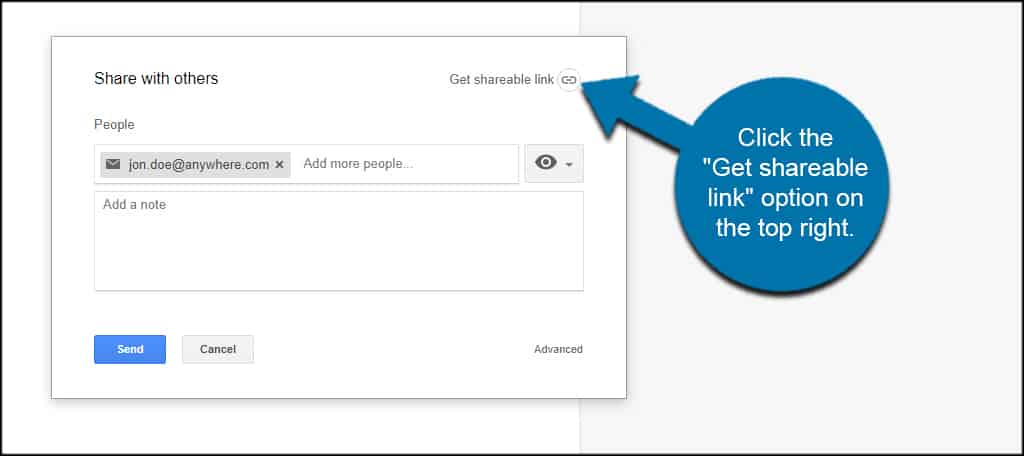
This creates a direct link to the document and opens the file’s ability to be shared outside of Google.
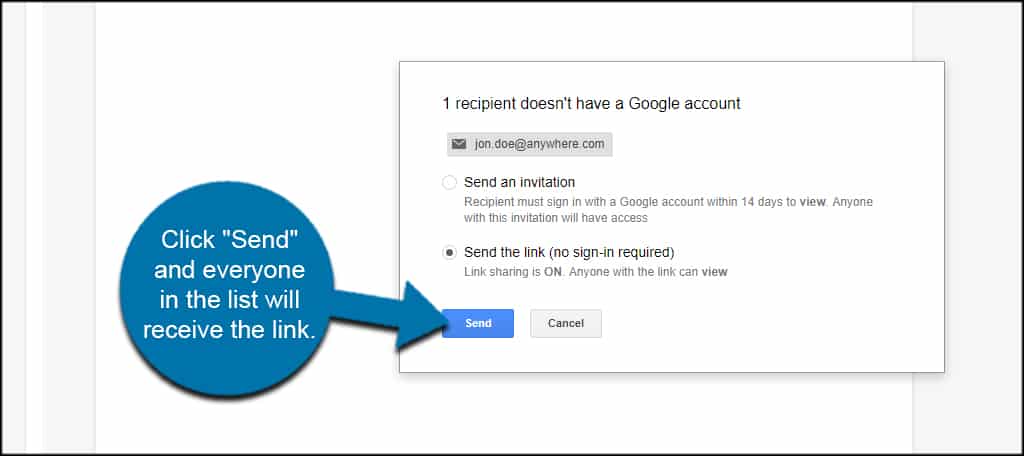
If the person you’re inviting doesn’t have a Google Account, you’ll see a message. In which case, the system will automatically opt to send the link and turn sharing on.
Click “Send” and everyone in the list will receive the link.
Advanced Settings
You can enable far more control in the advanced settings of the share tab. Click the “Advanced” link on the bottom right.
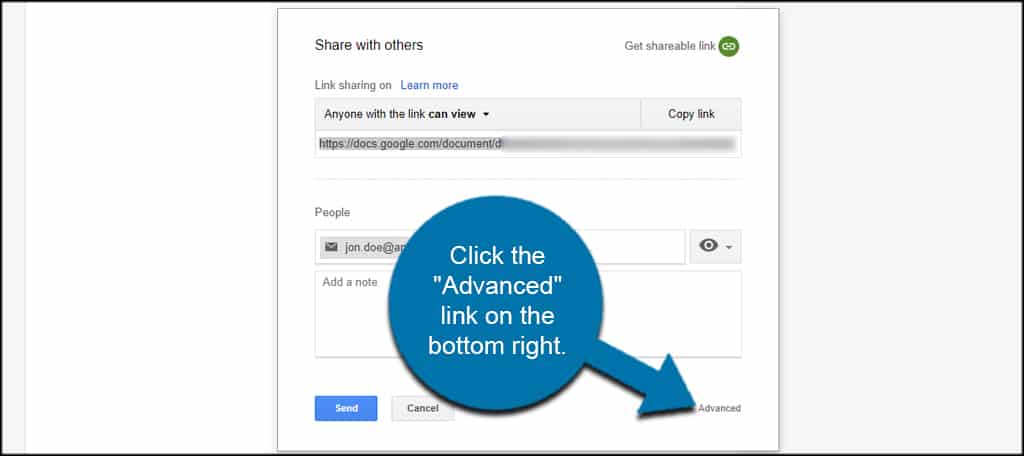
From here, you can choose to share through Gmail, Facebook and Twitter. You also can fine tune exactly what each person can do to the file, such as edit or just view.
Other options on the bottom let you choose whether editors can add new people or disable download and printing. This is useful if you don’t want others sharing the document, especially if the information is sensitive.

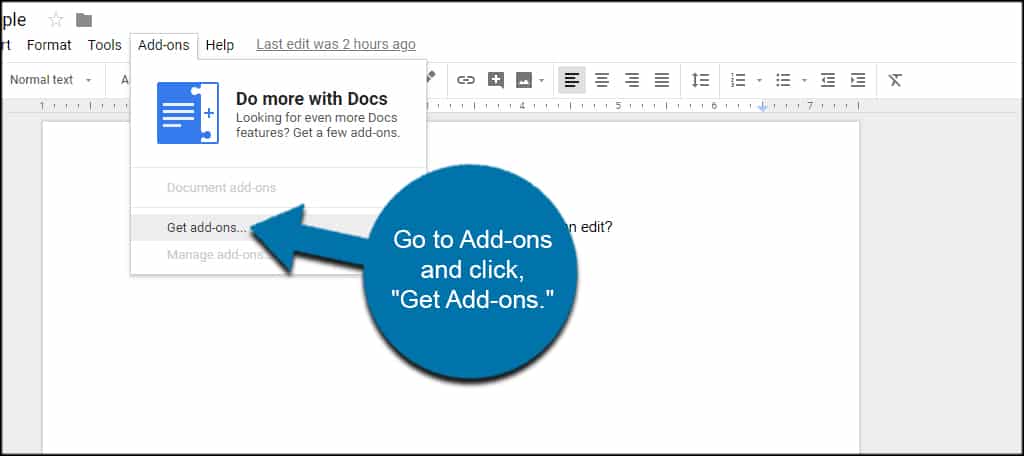
Expanding with Add-Ons
Perhaps you want to do more with your Google Docs layout. This is where Add-ons come into play. You can install additional features from Google to provide greater functionality.
Go to Add-ons and click, “Get Add-ons.”
A new window will open and show you all the different elements you can add.
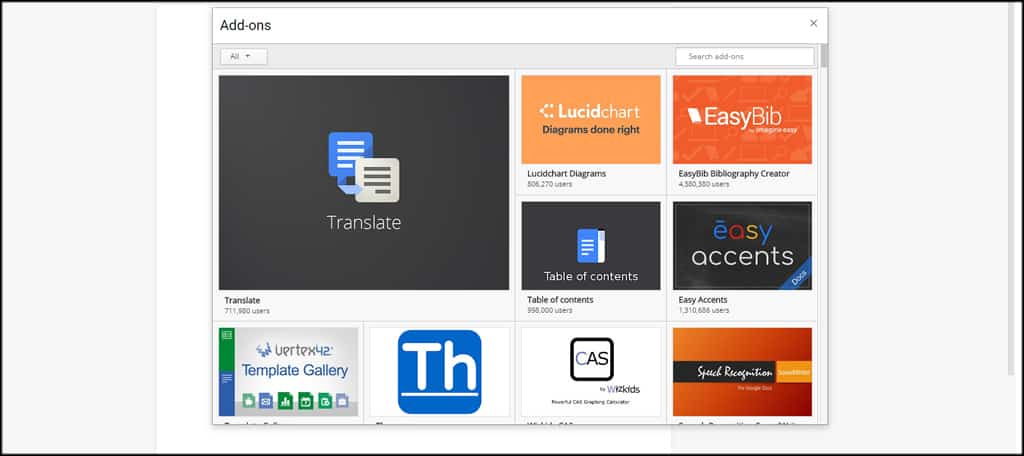
A lot of add-ons you have access to are free. You may come across some that are premium add-ons which require a fee. However, it’s worth the effort to see if you can find a tool you need from this database.
Select the add-on you want and click the button to install.
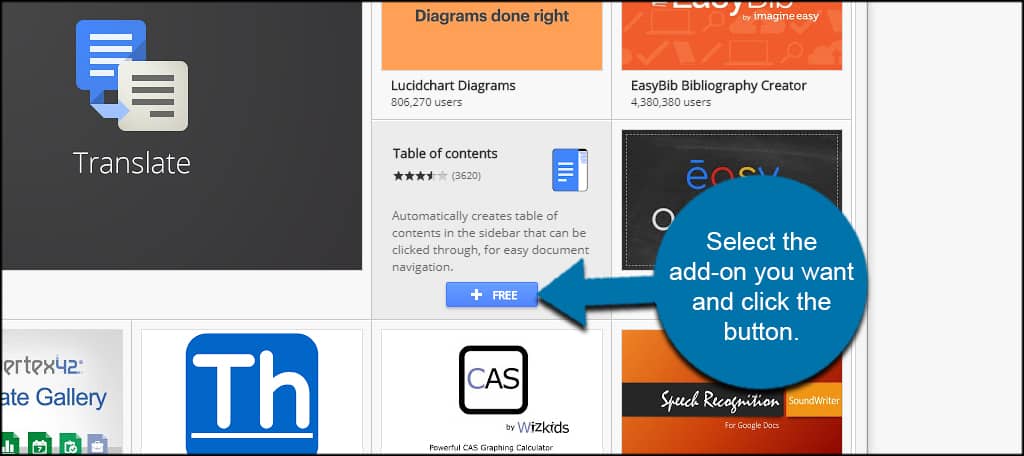
In many instances, you’ll need to authorize the add-on to access your Google account.
The list of add-ons is quite extensive, and you may find a lot of elements that can fit your specific needs perfectly.
Get More Out of Google
Using Google Docs is a great way to share forms and documents with the rest of the team. And because it’s all Cloud-based, files are easily accessible from virtually anywhere you have an Internet connection.
Dive into the tools Google has available and enhance the way you perform tasks. You may find it to be a great time-saving and productive set of tools.